gitlab runner 참고
Helm Chart를 사용하여 GitLab Runner 설치 #
GitLab Helm 리포지터리를 추가
1helm repo add gitlab https://charts.gitlab.iovalues.yaml파일을 사용하여 실행1helm install --namespace <NAMESPACE> gitlab-runner -f <CONFIG_VALUES_FILE> gitlab/gitlab-runner<NAMESPACE>는 GitLab Runner를 설치하기 원하는 Kubernetes Namespace<CONFIG_VALUES_FILE>은 커스텀 설정이 포함된 파일의 경로. Helm Chart를 사용
Values 작성 #
values.yaml 참고
https://gitlab.com/gitlab-org/charts/gitlab-runner/blob/main/values.yaml
gitlab과 연결을 위해 아래와 같이 설정
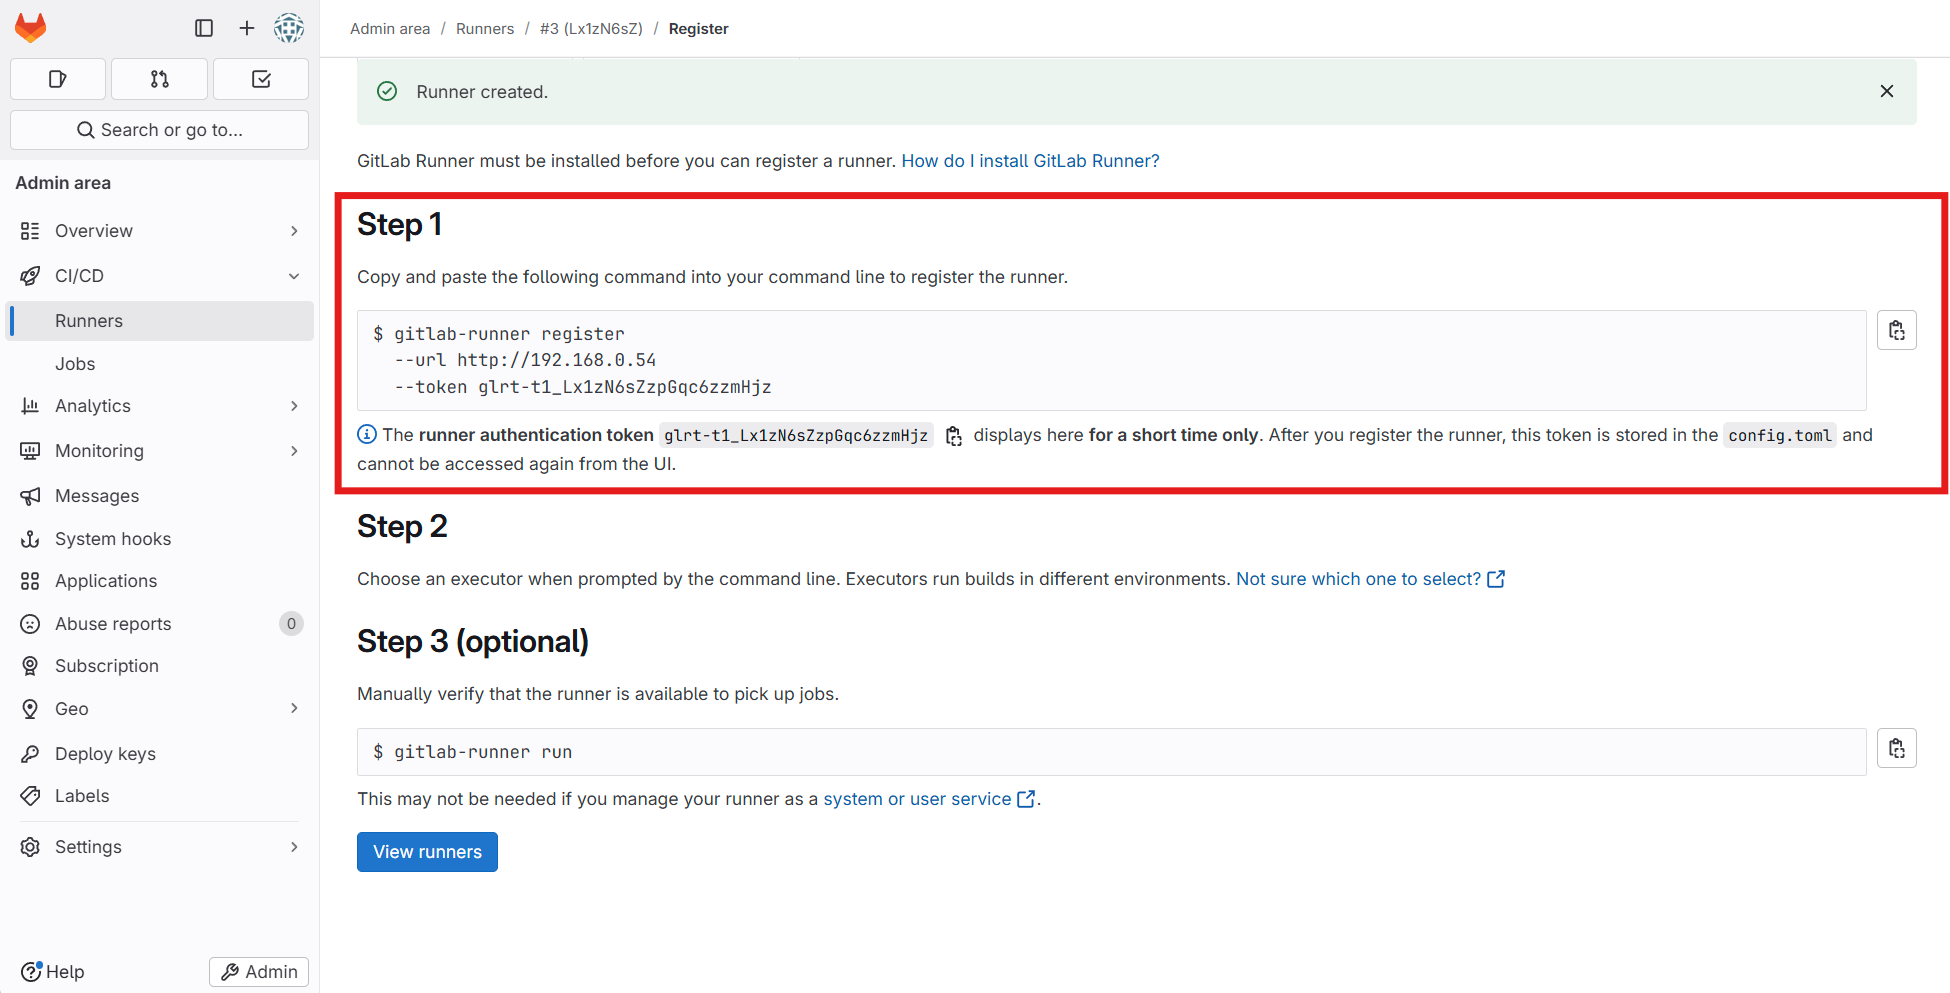
1gitlabUrl: https://gitlab.com # gitlab url 입력
2runnerRegistrationToken: a-trnA24KR77Mh***** # registration token 생성(CI/CD > Runner > New Project Runner)
만약 ci를 사용하여 image build를 하는 경우 #
Docker In Docker (Dind) 혹은 buildah 같은 image를 사용하여 container 안에서 image를 생성해야 하는데 이 경우 gitlab-runner의 옵션을 추가해야 한다.
 1...✂...
 2
 3runners:
 4  config: |
 5    [[runners]]
 6      [runners.kubernetes]
 7        namespace = "{{.Release.Namespace}}"
 8        image = "ubuntu:20.04"
 9        privileged = true
10
11...✂...
기본 runner 설정은 ubuntu 이미지를 base로 사용하도록 되어있는데 이 부분에
privileged = true옵션을 추가해야 container 내부에서 image를 생성할 수 있는 권한이 추가된다.
RBAC 지원 활성화하기 #
ERROR: Job failed (system failure): secrets is forbidden만약 다음 에러가 발생한다면 RBAC 기능을 활성화해야 한다.
1Using Kubernetes executor with image alpine ...
2ERROR: Job failed (system failure): secrets is forbidden: User "system:serviceaccount:gitlab:default" cannot create resource "secrets" in API group "" in the namespace "gitlab"
만약 클러스터가 RBAC를 사용하도록 설정한 경우, 차트가 자신의 서비스 계정을 만들거나 이미 만들어진 것을 사용하는 것을 선택할 수 있다.
차트에서 서비스 계정을 만들려면 rbac.create를 true로 설정
1rbac: 2 create: true 3 rules: 4 - resources: ["configmaps", "events", "pods", "pods/attach", "pods/exec", "secrets", "services"] 5 verbs: ["get", "list", "watch", "create", "patch", "update", "delete"] 6 - apiGroups: [""] 7 resources: ["pods/exec"] 8 verbs: ["create", "patch", "delete"] 9 - apiGroups: [""] 10 resources: ["pods/log"] 11 verbs: ["get"]- rbac.create : rbac을 생성한다. (create를 권장)
- rbac.resource : rbac으로 접근가능한 resource를 설정한다.
- rbac.verbs : rbac으로 resource에 대해 부여할 권한을 설정한다.
1#############################################################################################
2## WARNING: You enabled `rbac` without specifying if a service account should be created.  ##
3## Please set `serviceAccount.create` to either `true` or `false`.                         ##
4## For backwards compatibility a service account will be created.                          ##
5#############################################################################################
위와 같은 경고가 뜬다면, 아래와 같이
values.yaml파일에 추가1serviceAccount: 2 create: true이미 존재하는 서비스 계정을 사용하려면 아래의 명령어를 사용 (아래 Kubernetes RBAC 설정 설명 참고)
1rbac:
2  create: false
3  serviceAccountName: your-service-account
helm 설치하기(values.yaml 파일이 있는 폴더에서 아래 명령어를 수행)
#
1helm install --namespace hello-world gitlab-runner -f values.yaml gitlab/gitlab-runnerHelm Chart를 사용하여 GitLab Runner 업그레이드 #
- GitLab Runner를 업그레이드하기 전에, GitLab에 Runner를 중지시키고 모든 Job이 끝났는지 확인
- Runner를 중지시키는 것은 완료 시 권한부여 오류 같이 Job에서 발생하는 문제를 방지할 수 있다.
1helm upgrade --namespace <NAMESPACE> -f <CONFIG_VALUES_FILE> <RELEASE-NAME> gitlab/gitlab-runner<NAMESPACE>는 GitLab Runner를 설치하기 원하는 Kubernetes Namespace<CONFIG_VALUES_FILE>은 커스텀 설정이 포함된 파일의 경로. Helm Chart를 사용하여 GitLab Runner 설정하기를 참고<RELEASE-NMAE>은 차트를 설치할 때 지어주는 이름. Helm Chart를 사용하여 GitLab Runner 설치하기에서는 gitlab-runner라고 했다.
💡 GitLab Runner Helm Chart를 최신 버전이 아닌 특정 버전으로 업데이트하길 원한다면,
helm upgrade명령어에--version <RUNNER_HELM_CHART_VERSION>을 추가
Kubernetes RBAC 설정 #
- 특정 Namespace에 Runner를 사용하기 위해서는 몇 가지 설정이 필요
Namespace 생성 #
Namespace의 경우 그룹이나 팀, 혹은 파트별로 구성
- 예시: group-a, group-b, team-a, team-b, part-a, part-b, dep-a, dep-b
아래 명령어를 실행하여 hello-world라는 Namespace를 생성
1kubectl create namespace hello-world생성된 Namespace 확인
1kubectl get namespaces생성된 Namespace로 이동(kubens가 설치되지 않았을 때 get 명령어에 -n 옵션으로 네임스페이스를 지정하면 된다.)
1kubens hello-world
Service Account 생성 #
Namespace를 관리할 Service Account 생성하여 관리
- 예시: sa-group-a, sa-group-b, sa-team-a, sa-team-b
아래 명령어를 실행하여 hello-sa라는 이름의 Service Account 생성
namespace를 지정(예시는 hello-world namespace를 연결)
1cat <<EOF | kubectl apply -f -
2apiVersion: v1
3kind: ServiceAccount
4metadata:
5  name: hello-sa
6  namespace: hello-world
7EOF
Service Account 정보 확인
1kubectl get serviceaccounts hello-sa -o yaml
Role 생성 #
hello-role이라는 이름의 Role을 생성1cat <<EOF | kubectl apply -f - 2apiVersion: rbac.authorization.k8s.io/v1 3kind: Role 4metadata: 5 namespace: hello-world 6 name: hello-role 7rules: 8- apiGroups: ["extensions", "apps"] 9 resources: ["deployments"] 10 verbs: ["get", "list", "watch", "create", "update", "patch", "delete"] 11- apiGroups: [""] 12 resources: ["pods","services","secrets","pods/exec", "serviceaccounts"] 13 verbs: ["get", "list", "watch", "create", "update", "patch", "delete"] 14EOFRole 정보 확인
1kubectl get roles hello-role -o yaml
Role Binding 생성 #
hello-rb라는 이름의 Role Binding을 생성하여hello-saService Account와hello-roleRole을 바인딩1cat <<EOF | kubectl apply -f - 2apiVersion: rbac.authorization.k8s.io/v1 3kind: RoleBinding 4metadata: 5 namespace: hello-world 6 name: hello-rb 7subjects: 8- kind: ServiceAccount 9 name: hello-sa 10 namespace: hello-world 11roleRef: 12 kind: Role 13 name: hello-role 14 apiGroup: rbac.authorization.k8s.io 15EOFRole Binding 정보를 확인
1kubectl get rolebindings hello-rb -o yaml
💡 만약 gitlab-ci.yml 에서 runner의 tag 또는 name을 지정할 경우 helm의 values.yaml에서 tags 혹은 name에 값을 설정해주면 된다.
1  ## Specify the tags associated with the runner. Comma-separated list of tags.
2  ##
3  ## ref: https://docs.gitlab.com/ee/ci/runners/configure_runners.html#use-tags-to-control-which-jobs-a-runner-can-run
4  ##
5  tags: "my-runner"
6
7  ## Specify the name for the runner.
8  ##
9  # name: ""